You want to be a wedding photographer? This one's for you.

Before I get going - let me just say that I'm well aware that I'm not the be-all and end-all of wedding photography. There are many photographers out there that are far better than I am, and far more experienced than I am. However - I've shot a million weddings, and I've learned stuff I can help you with. That's what's important here.  

Anyway.

I got an email this morning from a starting out photographer. Let's call him John Smith. His email below:

Hi Ett

I'm shooting my first wedding next month. What Setting is best for weddings?

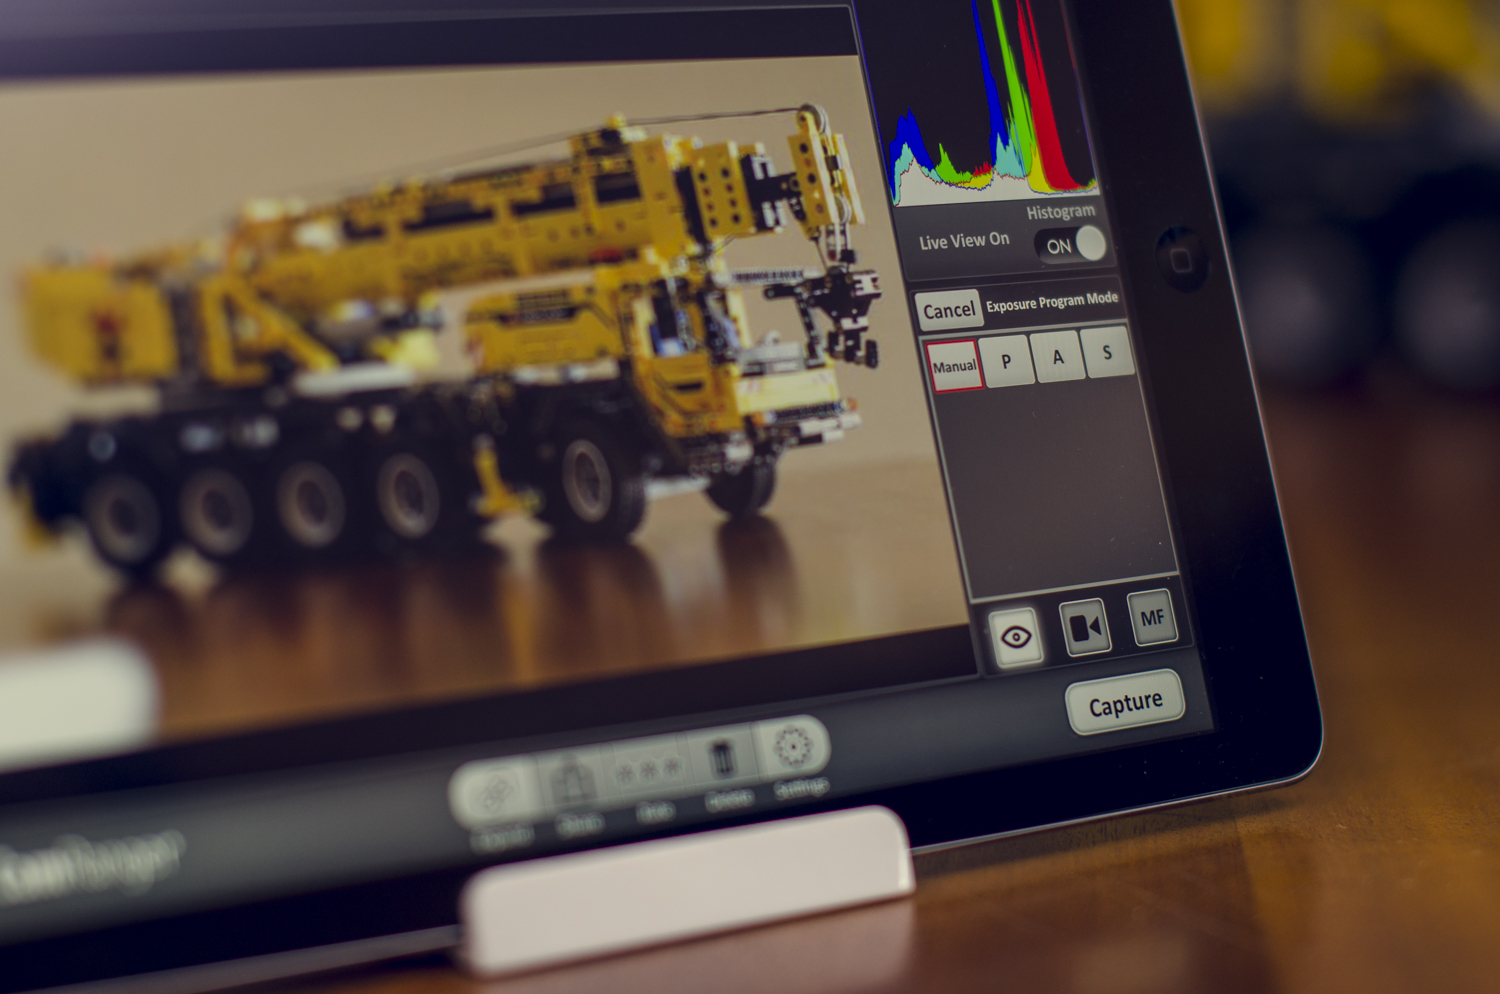
Now, I'm not even sure what setting he's talking about, but if he's asking this question about any setting on his camera, he's not ready to shoot a wedding. I'm assuming he's referring to the mode (A, S, P, M). We'll get back to John Smith in a moment. 

There are 15 824 208 173 people out there who want to be wedding photographers. I personally think that that's great, and I hope they make it some day. However, my concern is that 99% of those people have a good camera, but don't know what to do with it, and they're going to leave many couples feeling cheated. A decent camera makes up 5% of a good wedding photographer.  

I want this post to serve as a checklist and as an eye opener for anyone that's considering shooting weddings. I'm not going to tell you that you can't shoot a wedding. You can do it better than I can, for all I know. What I am here to tell you is that it's not something to take lightly. There's no room for error. None.

Let's quickly take a look at what shooting weddings involves. A wedding day is all different kinds of photography, not just portrait photography. On the day, you'll be doing a whole lot of all of the following:

  1. Some documentary style work. Photos of the makeup being done, the vows being said, the speeches being made, etc.
  2. Some Beauty work. Good, solid, well lit shots of the bride's hair and makeup.
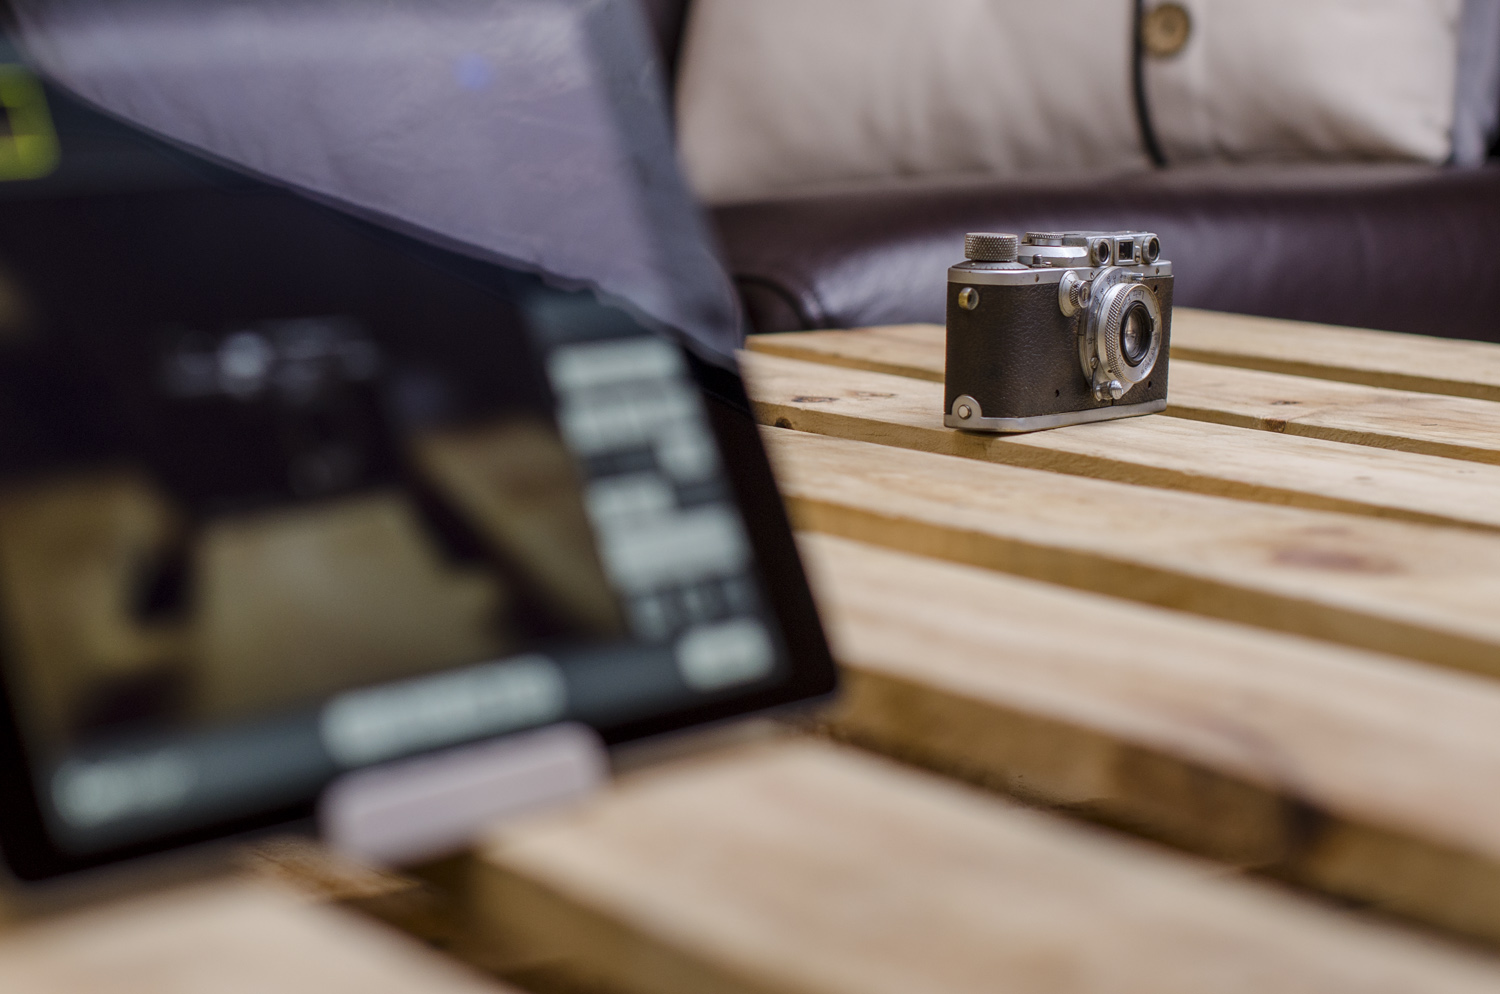
  3. Some product work. The spent a small fortune on the rings, jewellery, perfume, etc. You need to shoot that stuff.
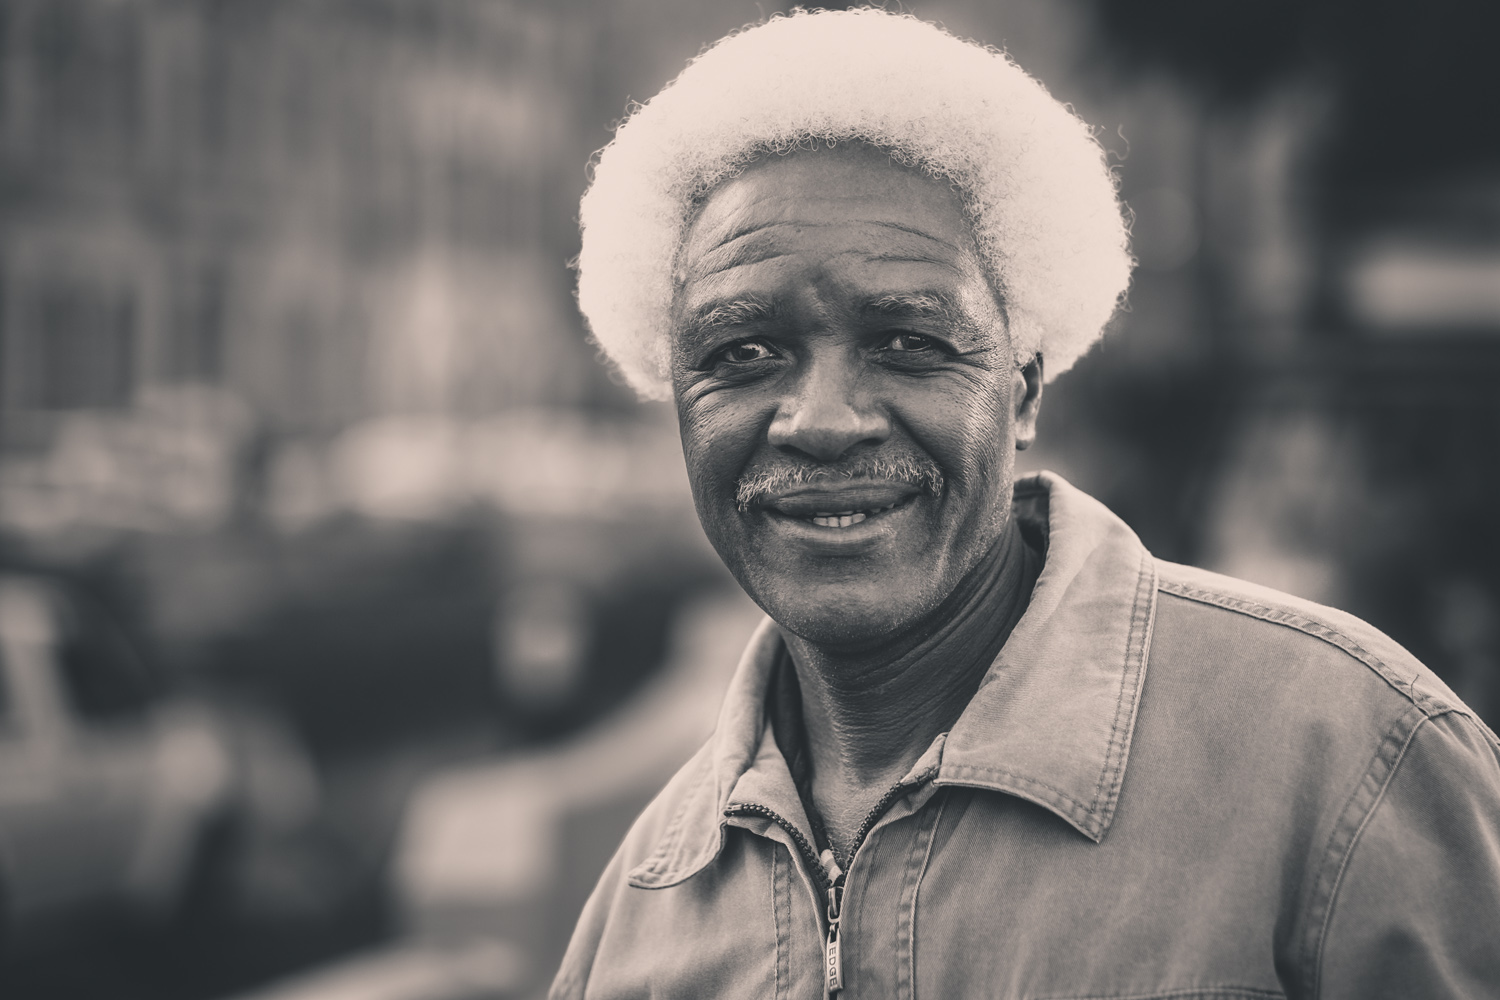
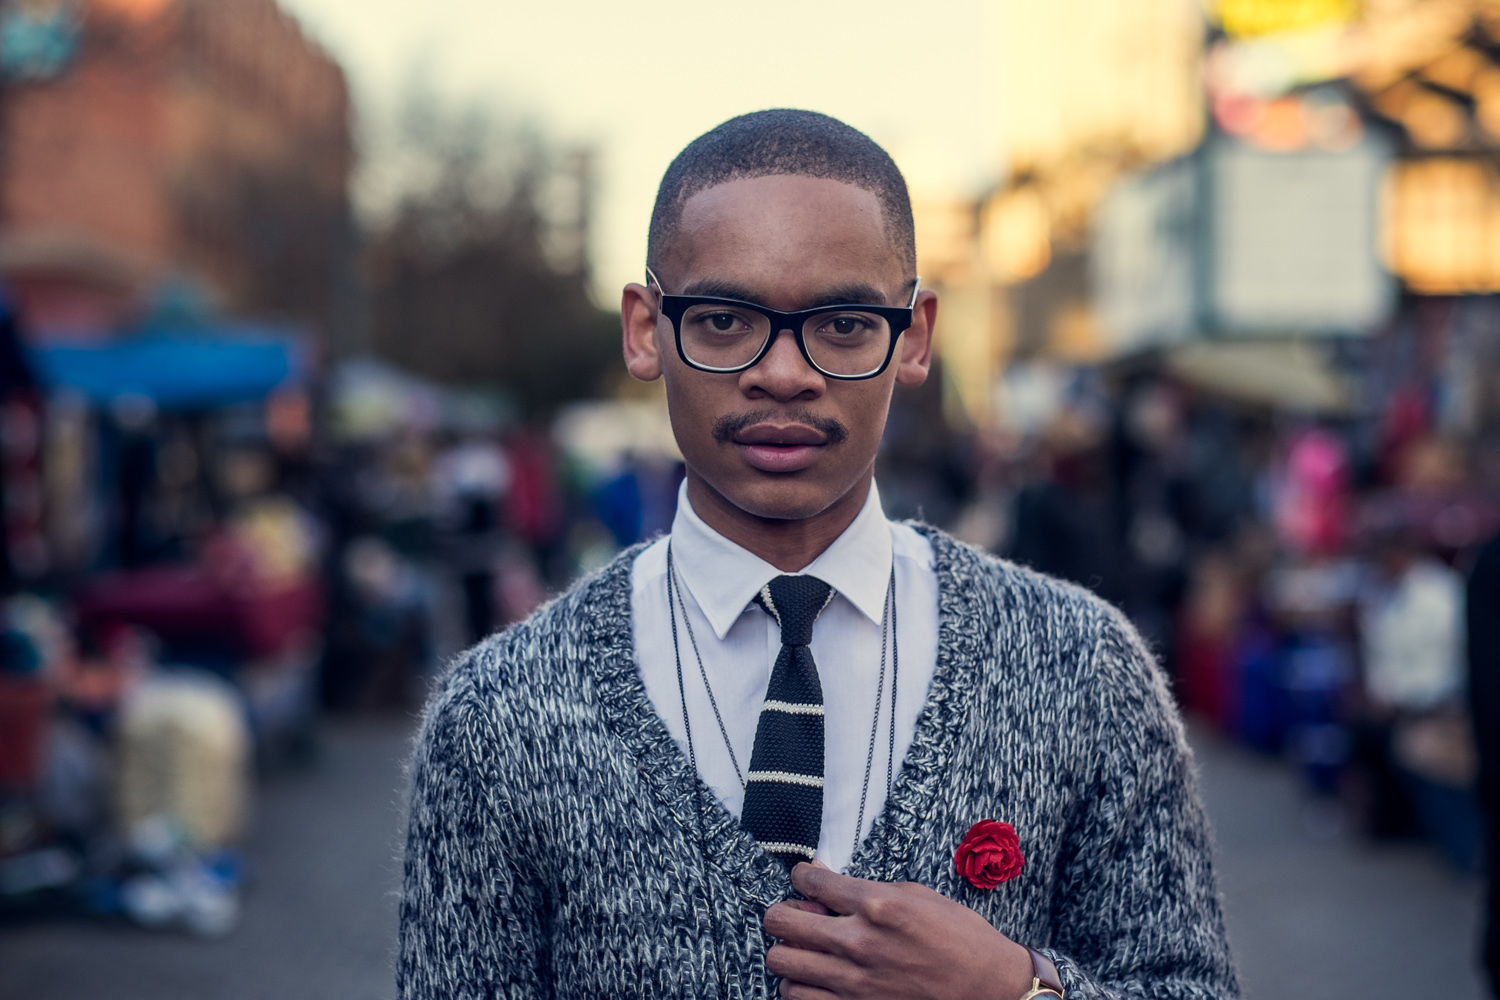
  4. Of course, you'll need to do some really, really good portrait work.
Detail shots like this are important to the bride. The groom? Not so much. 

Detail shots like this are important to the bride. The groom? Not so much. 

You don't need to be the best photographer in those four genres, but you sure as hell need to be able to shoot those four genres well. Furthermore, you need to be able to create beautiful images within those four genres on very tight time constraints, in constantly changing light, while being under the pressure that "I only have one shot" brings. Screwing up is not an option at a wedding. There's no room for you to miss the shot. You have to nail it, and it has to be a good shot. 

He knows about this piece of paper. Most of his guests don't. This is a good memory for him to see in 20 years.

He knows about this piece of paper. Most of his guests don't. This is a good memory for him to see in 20 years.

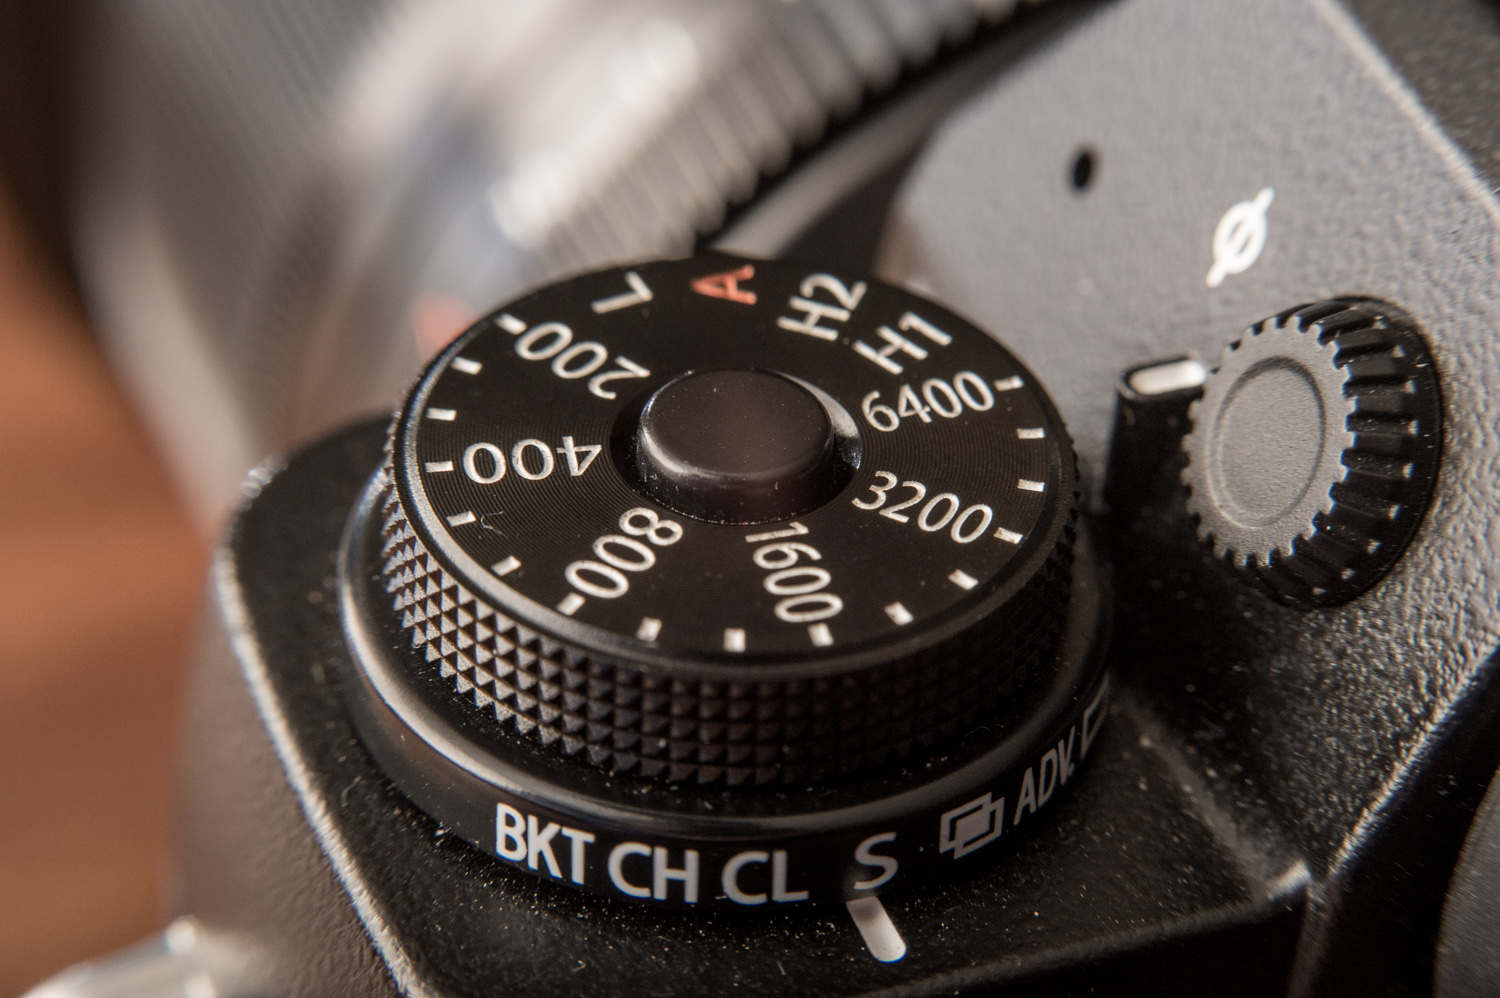
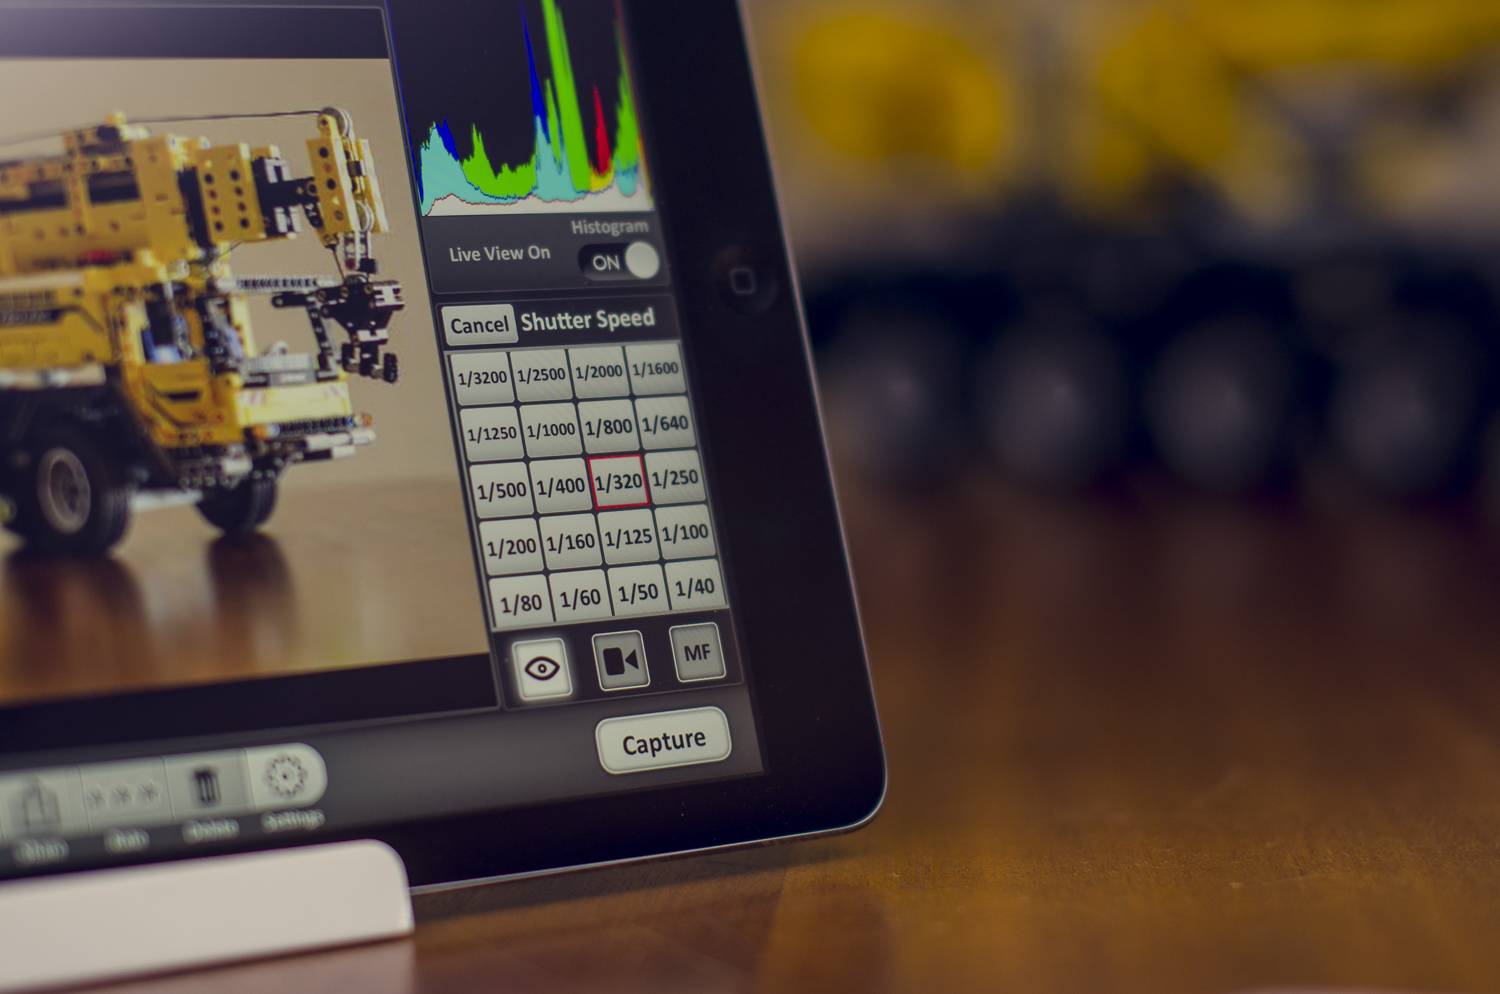
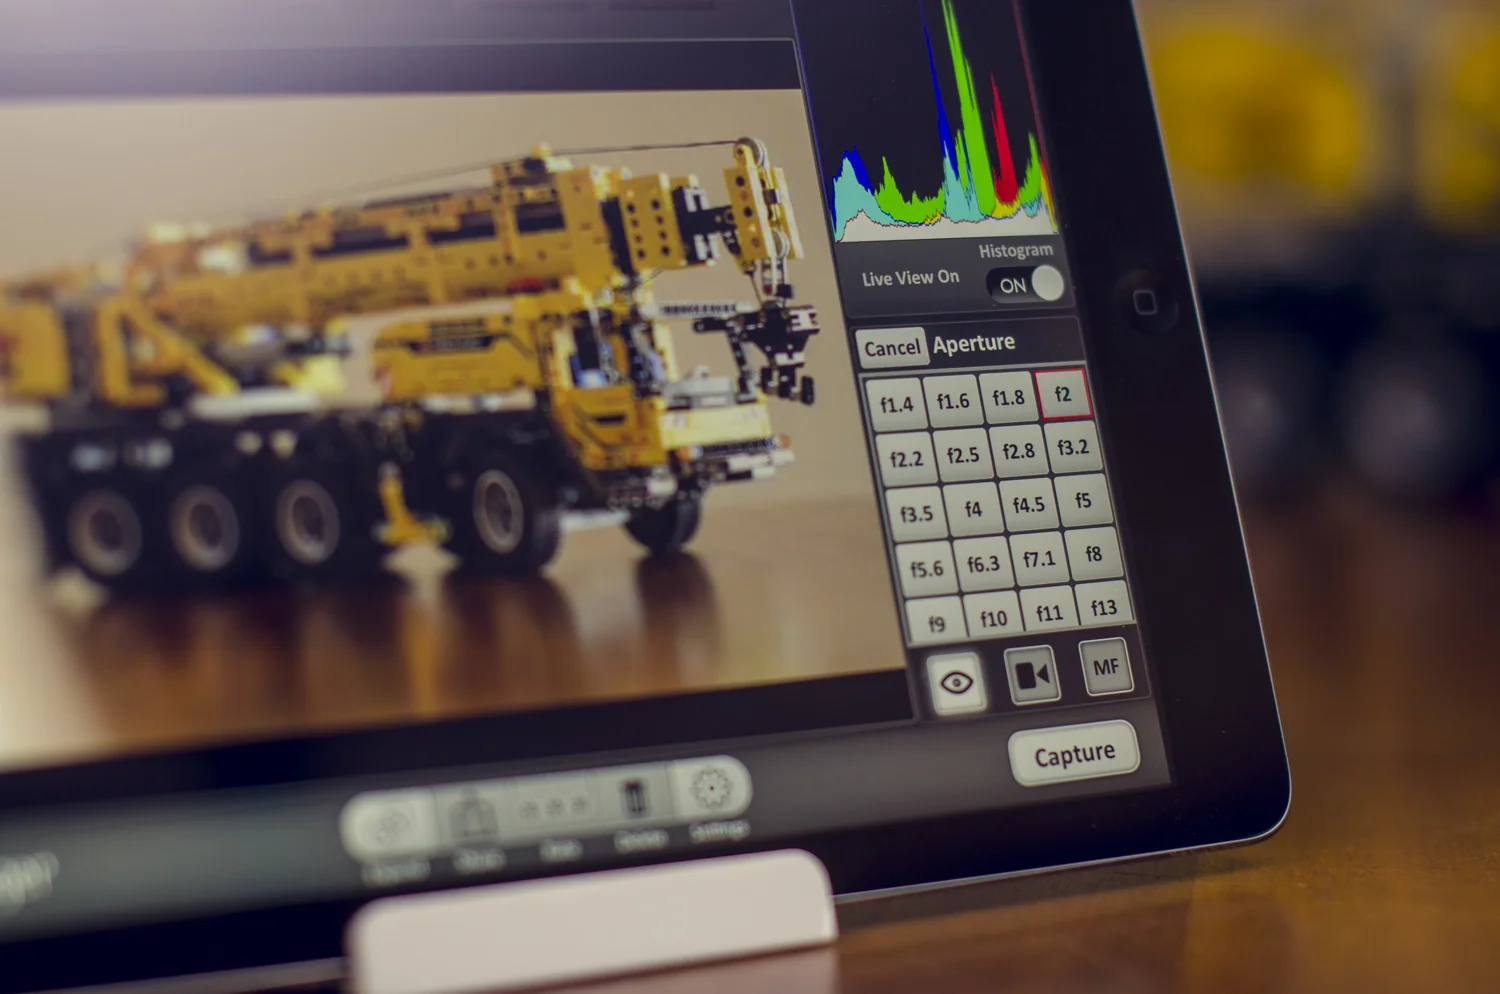
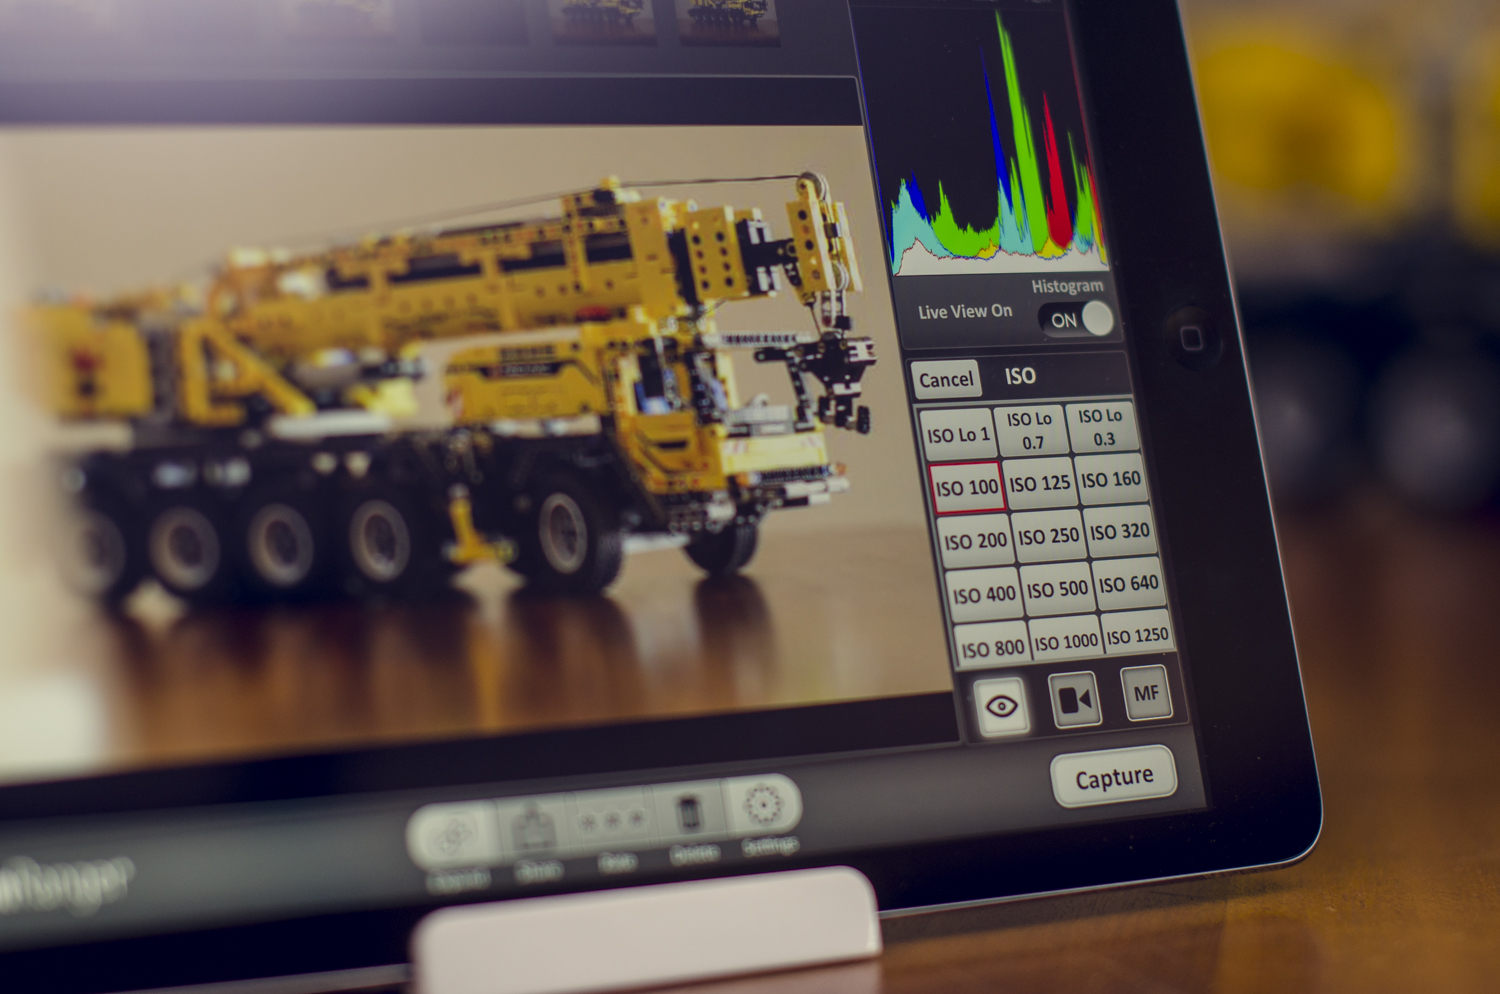
Due to all of this, your technique needs to be second nature. There's no time to be figuring settings and exposure optimizations on the day. If you ever, EVER have to think for more than a fraction of a second about how to expose correctly, you're not ready. You need to just know that at a wedding reception, shooting at F2 1/200 ISO1600 makes more sense than shooting at F2 1/13 ISO100, and you need to be able to figure that out without thinking about it (If you're looking at that, trying to figure it out, that's a red flag). You also need to know which lenses will be right for the job, and you need to know your lenses inside out as well. Shooting your lens wide open and thinking that your shots are sharp without KNOWING it for sure is going to have you panicking later on while you're editing, and realising that maybe, just maybe, you should've avoided f/1.2 and stuck to f/2.2.

You also need to have a pretty solid handle on light, how it works, and how you can control it. Trust me - you don't always get good light. In fact, more often than not, you're facing pretty shocking light situations and it's your job to make sure you can handle it. If you don't know how to use a flash, you can go ahead and email your cousin/sister/brother/friend that's nagging you to shoot their wedding and tell them to find someone else. You might be able to shoot a wedding without a flash, but you might get to a wedding that's very, very dark, and then even your fancy Nikon Df will struggle in the low light.

If you think all the problems in the world can be solved by bouncing a flash off the ceiling, you're in for a bumpy ride as well - many wedding venues have dark ceilings. Or, better yet, no ceiling.

_DSC5291-Edit.jpg

So if you're planning on shooting weddings, here's my advice:

  1. Don't even consider it until you know how to use your camera properly. If you can't comfortably shoot everything in Manual mode, you're not ready. I'm not saying you have to shoot weddings in Manual mode, but you need to know how to, so that if you set it to Aperture Priority, for example, you know how/why it's doing what it's doing (For the record, I only shoot in Manual). Know your camera, know which settings are best for which situations, and know your lenses. 
  2. Assist another wedding photographer. Trust me on this one. You'll learn so much, you won't be able to remember it all. Assist as much as you can. I've heard of wedding photographers that assisted for years before they started on their own.
  3. Light. Man, if you're struggling to manage the light in any situation, ever, you should reconsider shooting weddings until you're more comfortable with that. 
  4. Get an assistant. Don't even try to do this on your own. You can't do as good a job as what you can as a photographer if you're spending all that time carrying your bags and lights and stuff.
  5. Come equipped for the worst. You need to have 2 of everything at a wedding. 2 bodies, a handful of extra cards, millions of extra batteries, extra lenses, extra flashes, etc. When I show up to a wedding, I've got 2 bodies, 3/4 lenses, 12 memory cards, 3 camera batteries, 32 Rechargable AA Batteries for my 7 speedlights that I take along as well, 5 light stands, 4 softboxes (various sizes), 2 different sets of triggers for my lights, and a sandwich (hey, don't judge. Photographers need to eat as well). I seldom, seldom need all of that gear, but when I need it, it's there. Yeah, it's expensive to have all that stuff, but that's also where rentals come in. I didn't own all this gear to start off with. Do NOT show up to a wedding if you only have one camera body. Not having a backup camera body is absolutely not an option, on any level. Not having the sandwich probably isn't a good idea either. 
  6. Full Frame isn't necessary. It's nice to have, but definitely not necessary. The first camera I shot weddings on was a D7000, which starts making me uncomfortable around ISO800, and that camera made beautiful shots. In fact, I've still got a number of shots in my portfolio that I shot on the D7000. So this idea that you have in your mind about how important Full Frame is, is something you should start ignoring.
  7. It's really, really important that the photography isn't what you're thinking about on the day. You need to not be thinking about this or that composition, or this or that technique. As I said, that stuff needs to be part of how your brain naturally works. You need to be present on the day, you need to experience the wedding for what it is, so that you can shoot it in a way that's true to the day. An AMAZING photo of an ice bucket doesn't mean anything to anyone except you, because it's just a freaking ice bucket. If the ice bucket is relevant to the couple and the wedding - good job. So if this stuff isn't second nature to you, it's because you're not shooting enough. So go out and shoot. Today. Go out and shoot again tomorrow. Practice practice practice.
  8. Don't go there looking to make the day something it isn't. Go there and capture it for what it is. As far as I'm concerned, you shouldn't ever tell anyone to look at the camera, or to smile. Not ever. Putting on a smile that isn't authentic or looking at the camera isn't natural. Why wedding photographers are telling people to do stuff that's not natural, and then photographing it, is beyond my understanding. People can look and smile at you for the group/family shots. But that's it. If you want a photo of a specific person smiling, point your camera at them and wait for them to legitimately smile about something, and get that shot when they don't know you're taking it. The fake smiles are horrible - don't do it.
Makin' sure I got what I see in my mind. Photo Credit - Sheldon Evans

Makin' sure I got what I see in my mind. Photo Credit - Sheldon Evans

Guys, don't take this lightly. Your clients must have good photos when you're done. They must. You can't give them "Not too bad" shots. You need to make sure that they're happy. If you're not certain that you can give them fantastic photos, don't take the job. There's no second chance. If you miss the first kiss, it's gone. If you miss the moment the groom sees the bride for the first time, it's gone. Be ready. If you're wondering "What aperture or ISO will be best for the wedding", you're not even ALMOST ready to shoot that wedding. 

Also, understand that it's not always stressful. I've shot more weddings than I can remember, and I don't ever stress for a moment when I shoot weddings now. Once you get into it, it's a piece of cake. Getting to this point is a process, though, and I hope that this post helps you get there.

Now, if you're ready, go shoot it and have a cracking time.

I spend so much time on the ground. Geez. Photo Credit - Sheldon Evans

I spend so much time on the ground. Geez. 

Photo Credit - Sheldon Evans


Getting to know the CamRanger - Part II

Aaaaand we're back with some more CamRanger love. The more I use this thing, the more I see the power it has. 

Today, I'm going into a little more detail on some of the other features the device has - specifically timelapse, focus adjustments, and HDR. Our subject today is this little Leica IIIa:

Let's get started with the Focus adjustments. The finer focus adjustments are probably my favourite feature of the CamRanger. Once you've got your shot set up, and your focused on your subject (by simply tapping anywhere on your iPhone/iPad screen), you can then further adjust that focus with these controls:

As you can see below, I did fine adjustments on the AF to shift the DoF around:

So this gives you super precise control over your focus, which can be very helpful when doing product work with a very shallow depth of field. I shot these on a 135mm F2 lens, so you can see that my DoF was absurdly shallow.

Something else that I can cover, with regards to focus, is the focus stacking. 

Focus stacking is a technique used primarily in Macro photography. When shooting macro images, it’s incredibly difficult to have a large depth of field, even when shooting with a very small aperture. This is due to the focal length of the lens (usually around 105mm), as well as the close proximity to the subject. 

The issue here is that you might want more in focus, but not have the ability to do so. This is where focus stacking comes in. Essentially, what focus stacking does is allow you to take the same image multiple times, but with a shift in your focus on every shot. This changes the position of the Depth of Field for every image, leaving you with a set of images that all have different areas in focus. Then you’ll bring the photos into photoshop (for example) and use all of those small areas in focus to create one image with a larger Depth of Field than what’s actually possible.

The old-school way of doing this would be to use a Macro Rail, which moves the camera for every image. This way is not ideal on any level, as you’re essentially changing your composition and perspective with every shot. 

The Camranger allows you to rack focus, and makes it really easy by automating the entire process for you. You can set it to adjust the focus in small, medium, and large steps. It can do 50 shots in a set, and if that’s still not enough for you, you can reinitiate the process and do another 50.

So, Macro shooters - this is pretty much a must-have device for you.


The next thing I want to cover is Timelapse. The CamRanger does a great job with timelapses, and it's an absolute breeze to set up. The controls are easy to understand, and it's just a matter of figuring out how you want your particular timelapse to look. Here are the possible configurations:

As a portrait photographer, I don't do much timelapse work, but I did do a timelapse of myself setting up for the photos above:

The CamRanger isn’t making the actual time-lapse video, though. It’s shooting the images so that you can make it yourself. Timelapses can be put together in Premier, Final Cut, and most other video editing tools.

The next thing I want to cover is HDR. The HDR capability of the CamRanger is fantastic.

Not only does it allow you to define the exact details of the bracketing it does, but you can also choose which settings are adjusted for the different exposures. You're not stuck to shutter speed as you are on many DSLRs - you can bracket using your shutter speed, aperture, or ISO.

This will be especially handy if you're in a very low light environment, where bracketing shutter speed might not be ideal, but where you have a lot of headroom with your ISO. Bracketing with your aperture probably isn't a great idea, as that'll affect your focus as well, but perhaps you could use it on a massive landscape shot around f/22, if you really need to.

Something else I’d like to mention is that in aperture mode, you can adjust the increments in exposure by 1/3, 2/3, and 1/1 stop increments. This allows for some pretty ridiculous bracketing. I measure that on a lens that’s got an aperture range of 2.8 - 22, you can get 19 different images. 19 images on a single HDR?! What is that… 18 million stops of dynamic range? That’s like trying to get detail on the sun and detail in the pitch blackness of space in a single image.

Obviously, The CamRanger is only shooting these files for you. It’s up to you to put them together in post. You can do this in Photoshop.

That's all I'm covering today. If remote control of your camera is something that appeals to you, there's no better device than the CamRanger. 

If there's anything that you'd like me to cover about the CamRanger, let me know!

Review: FLM CB-32F Tripod Ball Head

I recently got a suitcase full of overwhelmingly beautiful tripod gear to shoot and write a review about. There’s one specific thing I want to focus on today, and that’s the FLM CB-32F Ball head. I don’t think I’ve ever felt a small ball head that felt as solid as this one. 

The CB-32F is actually the strongest ball head in its class, and for its size (32mm), it can carry more weight than any 32mm ball head in the world. It can carry a load of 20KG, which is more than 99% of camera configurations you’re likely to use.

The friction control knob and clutch are very solid, and once you’ve tightened them, your camera isn’t going anywhere. 

The pan knob is a nice one to have as well, and allows you to easily pan your camera for panoramas. The base of the head has a measurement scale marked into it, allowing you to be really precise about the increments you pan in. They’re laser etched into the base at an angle as well, allowing you to view the measurements from above.

Something that really struck me about this ball head was the overall build quality. FLM uses high-tensile, lead free aluminium, which is machined using state of the art CNC technology, and I’ll be honest with you - you can feel it when handling this ball head.

I also find it really beneficial to have a separate base to the rest of the tripod. Once you've got your vertical angle and tilt dialled in, you can still rotate your camera horizontally without affecting those settings. This is invaluable if you're doing panoramas, or shooting architectural work.

The head also features a reversible screw which can be easily switched from 1/4” to 3/8” threads. This allows you to join virtually any Quick Release or Power Release System to the ball head. The head also has a cork surface on the top which increases the friction between the head and the Quick-Release, making it just that much more secure. The cork also helps reduce vibrations between the head and the Quick-Release.

The way the friction knob works is also a thing of beauty. It's has a step ring, which allows you to set a minimum tension  to hold your specific camera setup in place. This allows you to change your  composition without adjusting the friction.

That's it. Keep well, keep shooting. Hit me up on Facebook, Twitter, or Instagram - Ett Venter.

Getting to know the CamRanger - Part I

I’ve recently partnered with CamRanger SA and Sunshine Company down in Cape Town, and it's been a good ride. I've been playing with the Camranger for a few weeks now, and man, is this thing powerful. 

The CamRanger allows you fully to control your camera from your iPad/iPhone, wirelessly. And when I say “fully”, I’m not kidding - you’ve got full control over the exposure controls, as well as shutter release control, HDR, time-lapse, and even fine focus control. It’s pretty amazing.

Over the next few weeks, I’ll be teaching you how to use the Camranger. I’ll start off today with the basics. So let’s jump right in.

The CamRanger connects to your camera via the USB port (the one you’d normally tether with). Once you plug the CamRanger into the USB port on your camera, you’ll need to download the CamRanger app from the App Store. Don’t worry, it’s free.

Once you’ve got the App installed, just follow the instructions to get the CamRanger hooked up to your iPad. It’s pretty straight forward.

So here’s what you should be presented with, more or less:

This panel on the right is essentially the main control panel. Here you’ve got full control over everything you could want to control on your camera.

If you’d like to change on of the settings, you just tap on the setting, and the control panel will change and display the various settings you can change that variable to. Something important to note is that you’ve got the ability to see a live feed directly from your camera using the live view button in the app.

Something else you can change (and something I’d encourage you to change) is the quality setting. Along with shooting in RAW (which you should always be doing), you can set your camera to shoot JPEGs as well.

This might not be something you do when you’re shooting without a CamRanger, but when you are, it would be a wise decision to create low resolution JPEGs along with your RAW files. The reason for this is that if you only shoot RAW, the camera is going to send full-res files to the CamRanger, which will increase the transfer time. In my case, my 36MP D800 files take so long that it makes using the CamRanger an incredibly exhausting experience. The moment I have the camera creating small JPEG files, the transfer between the CamRanger and my iPad is significantly faster, as now the files being transferred are only 9MP.

Once you’ve got your settings dialled in, it’s time to pick the point you want to focus on, which is as easy as tapping on that point on the screen. Once you tap on the screen, the CamRanger takes control of the lens' autofocus motor and makes the correct adjustments. How nuts is that? You can also double tap the screen to get a 100% zoom to make sure you've nailed the focus.

So that’s it! Using this CamRanger is a piece of cake. It’s a good, solid setup that I find to be incredibly reliable.

The range on the wireless network that the CamRanger sends out is big as well. I did some long exposure work a few nights ago, and ended up standing on almost the opposite side of  a highway I was photographing, while I was controlling the camera from my iPad. 

So here’s the image I shot for this tutorial. I did 100% of the control in this shot on my iPad. In fact, I even composed the shot using my iPad, without looking through the viewfinder in my camera (or using liveview) once.

In the next tutorials I’ll be coving the finer focus control, Focus Stacking, HDR, as well as Timelapse, to name a few.